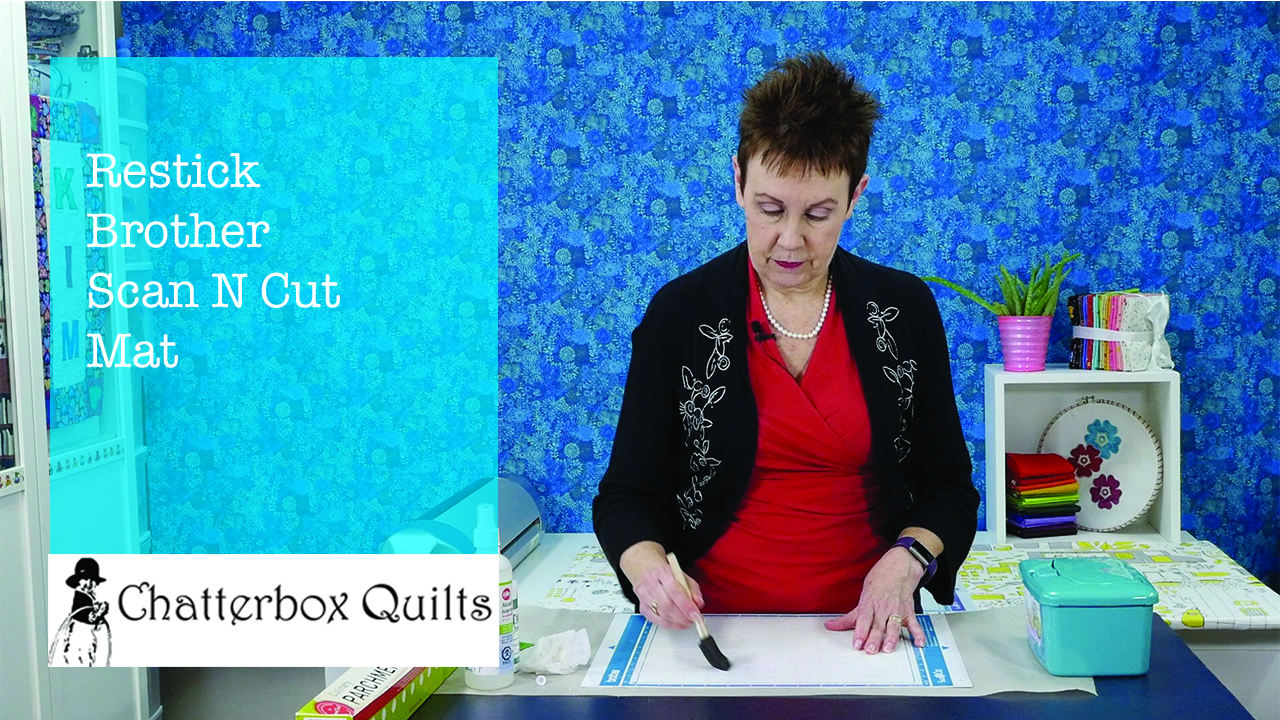
After you’ve used your Brother Scan N Cut mat over and over, you’ll find that it tends to lose its stickiness. I was looking for a way to refresh my mats so I could delay purchasing any more – yah, I can be cheap that way!
I usually use my Brother Scan N Cut for cutting fabric and the method I’ve found is great for resticking mats you would use for fabric cutting. I wouldn’t suggest using this method on a mat on which you intend to cut paper or cardstock as it will make the mat really sticky and will probably make it very difficult to remove paper items.
Here’s what you’ll need to restick your Brother Scan N Cut mat:
Rubbing alcohol (in a spray container, if possible)
Used credit or gift card
Aleene’s Tack-it Over and Over Repositionable Glue
The mat you want to restick
Once you’ve gathered all of your items together, cover your working surface with some parchment paper and place the not-sticky-but-soon-to-be mat on top of it. If you have a high tack adhesive fabric support sheet on top of your mat, remove this first.
To clean the mat, spray it with rubbing alcohol. Once the mat is wet, use the baby wipes and/or the used gift or credit card to get off all of the bits and pieces of lint, thread or what have you that has stuck to the mat. I find the plastic gift card works really well to scrape off those pieces that are a bit stubborn. Be sure to use the rubbing alcohol in a well ventilated area.
Once the mat is clean, it should no longer be sticky. You’ll need to let it dry thoroughly before the next step.
Once the mat is completely dry, it’s time to make it sticky again! Take the Aleene’s Tack-it Over and Over Repositionable glue and apply it to the mat inside the blue or purple lines on the mat – in the area where you would normally affix the fabric. Use the paint brush to wipe the glue evenly over the mat and let dry completely.
Once it is dry, it is ready to be put to use. You’ll certainly notice how sticky it now it! Be sure to keep the mat clean by covering it with the clear vinyl that came with it and clean it with a baby wipe in between cuttings.
Once the mat starts to lose its stickiness, you can just repeat the process again!
Click on the image below to watch a video on my YouTube channel showing you the entire process.
P.S. Did you know that you can sign up to receive FREE emails full of quilting goodness? Just click here to receive FREE content directly in your email inbox every few weeks from Chatterbox Quilts. I know you'll be glad you did!
P.P.S. I am an Amazon affiliate and will receive a small amount of compensation if your purchase a product by clicking through links in this blogpost. This allows me to continue to provide you with FREE content each week. Thank you.


