Reviews

Wavy Line Walking Foot Quilting

Recently I've been exploring walking foot quilting on the Janome Horizon Memory Craft 9400 QCP and have been loving the results!

 
Walking Foot quilting top.jpg
 

When you talk about quilting your projects, most people think that you are talking about free motion quilting, but that isn't always the case. You can get great results by using your walking foot to do your quilting.

In one of my previous blogposts, I showed my readers how to make a no binding self-metered placemat, perfect for setting your table or for gift giving. If you haven't read this blogpost yet, you can read all about it here. I quilted the centre of these placemats using my walking foot and I was thrilled with how quick and fun it was to do!

 
No binding placemat staged.jpg
 

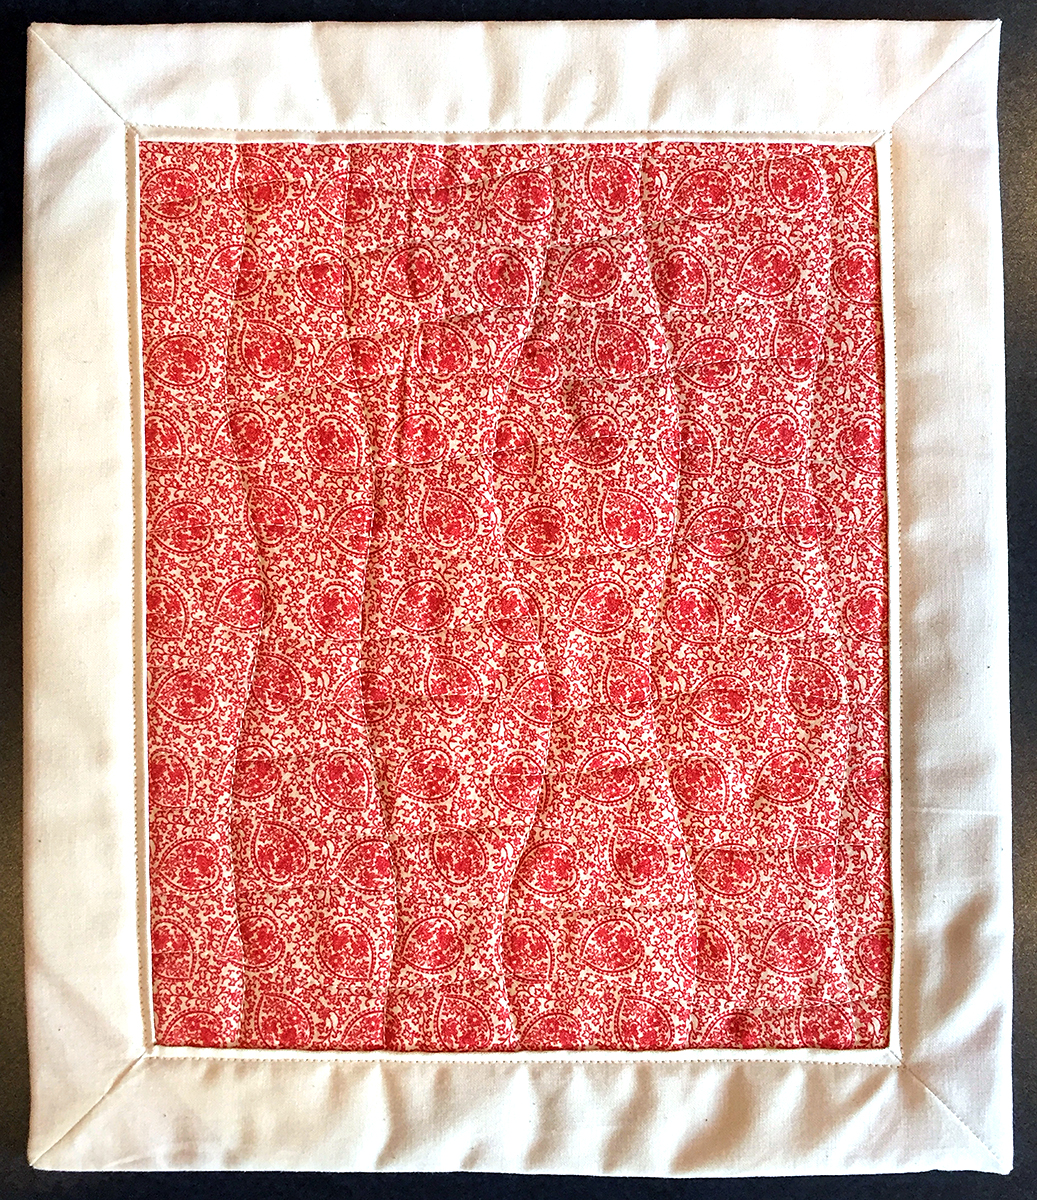
I chose to do a wavy design both vertically and horizontally on the project. This was so easy as I really couldn't go wrong with this type of design.

 
No binding placemat full.jpg
 

I started by stitching a wavy line vertically in the centre of the placemat and then continued to stitch wavy lines on either side of it. Once I was finished stitching in this direction, I repeated this process horizontally. I didn't mark my lines, but just eyeballed the distances between each line. 

There are so many variations possible with just this wavy line quilting:

  • you could vary the waviness of the line to be tighter or looser

  • you could vary the distance between the lines vertically

  • you could vary the distance between the lines horizontally

  • You could do wavy line quilting diagonally across your project

There are just so many possibilities with this simple quilting design.

 
Back of top after quilting.jpg
 

To see how I quilted the placemat, just click on the image below to watch a video on my YouTube channel that provides more information.

Do you use your walking foot to do your quilting or do you prefer to free motion your quilts? Have you tried wavy line quilting with your walking foot? Leave me a comment below to let me know.

Creatively,

Kim's signature small aqua.jpg
 

Did you know that you can sign up to receive FREE emails full of quilting goodness? Just click here to receive FREE content directly in your email inbox every few weeks from Chatterbox Quilts. I know you'll be glad you did!


Book Review: Walking Foot Quilting Designs

One of the problems that many quilters have is how to free motion quilt their projects. If you are one of those quilters, I can reassure you that you don’t have to. What?! Yes, you do have to get your quilt sandwich stitched together, but you don’t have to do this with free motion quilting: you can quilt your projects using your walking foot.

I recently discovered “Walking Foot Quilting Designs” by Melissa Marginet and wanted to share this book with you.


Walking Foot Quilting Designs is a small book that is packed with helpful walking foot quilting designs. As it is coil bound, you can have it right next to your sewing machine so you can easily refer to it as you are stitching out one of the designs. I really like this idea, because it is so very helpful to have the quilting information close at hand.

Melissa includes information at the beginning of the book about using your walking foot to quilt your quilts so you can get yourself and your machine properly set up. The book itself is divided into sections so you can quickly go to the one in which you are interested. You’ll find triangle designs, spiral designs, etc.

Each design is broken into several steps so you know exactly how to create it on your own sewing machine. The first lines that you’ll be stitching are in red in Step 1 and then these lines are shown in black in Step 2 to indicate that they have already been stitched. This makes it obvious which part of the design has already been stitched and what your next stitching will be.

 
Walking Foot Quilting Designs.jpg
 

Melissa also includes variations of the different designs as well as designs appropriate for borders and corners.

I think that the book will be helpful for both beginner quilters and more advanced ones: beginners could choose to stitch the initial part of the design, while more experienced quilters could do all of the steps for added complexity.

To see more of Walking Foot Quilting Designs, you can watch the video below or on my YouTube channel.

Using your walking foot to quilt is a great way to become familiar with the technique of quilting a project and to build your confidence so you are ready to eventually tackle free motion quilting… or you might just stay with walking foot quilting.

You can get your own copy of Walking Foot Quilting Designs from Melissa at http://www.melissamarginet.ca/.

Creatively,

Kim's signature small aqua.jpg


Download the free
Get Out of the Ditch! guide to learn how to start free motion quilting by clicking here.

P.S. Did you know that you can sign up to receive FREE emails full of quilting goodness? Just click here to receive FREE content directly in your email inbox every few weeks from Chatterbox Quilts. I know you'll be glad you did!

Learn About the Grip n Press

Christmas is less than a week away! Are you ready? I'm just about ready - there always seems to be last minute baking and wrapping to be done. I'll be taking a break over the holidays to spend time with my family, so there won't be a blogpost or YouTube video next week. 

I hope you have a relaxing and joyful time with your family and friends and I'll see you with new, fresh content on January 2, 2018.

 
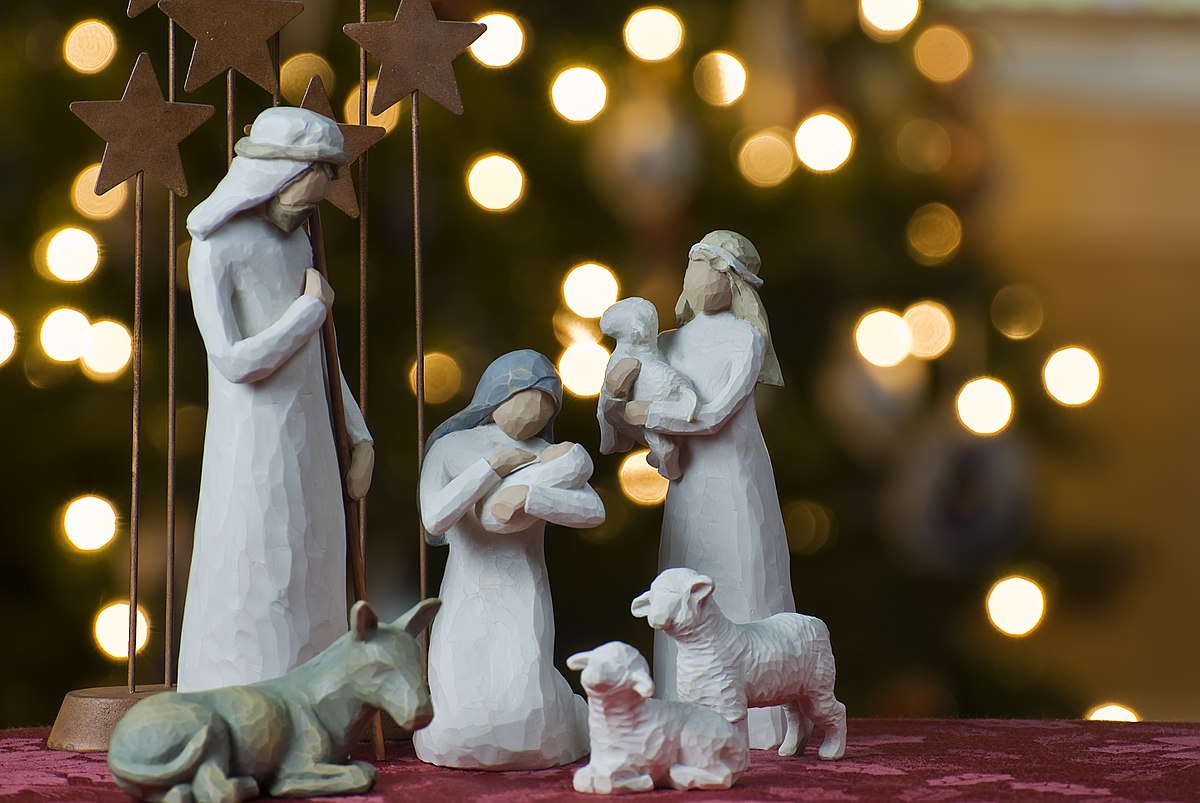
Nativity.jpg
 

I recently took a look at the Grip n Press by Bear Thread Designs, Inc. As the name implies, this is a product that both grips and allows you to use it as a pressing surface. Let's take a closer look at this helpful item.

One side of the Grip n Press is a black, rubbery surface, while the other is a shiny, silver one. The black surface grips, while the silver one is where the pressing will be happening. Once you've smoothed the Grip n Press down onto a flat surface, you can put your fabric on top of it and then press it. So it's really a portable pressing surface! 

Once you've finished using the Grip n Press, you can roll it up and store it in a cardboard tube (a paper towel tube is great for this). Since it is portable, this makes it perfect for taking to a quilting class or retreat.

NB: I would be cautious using the Grip n Press on a surface that isn't heat resistant, just in case the heat of the iron might damage it.

To see the Grip n Press in action, watch the video below or on my YouTube channel. 

Please leave me a Comment below advising of other uses for the Grip n Press.

Creatively,

Kim's signature small.jpg
 

P.S. Did you know that Chatterbox Quilts provides FREE content to those on our mailing list? Yes, we do! Sign up here to receive FREE content directly in your email inbox every few weeks from Chatterbox Quilts. You'll be glad you did :)

P.P.S. This post includes affiliate links. If you purchase an item through these links, I will receive a small monetary amount that helps me to continue creating FREE content for you. Thanks!

 
merry-christmas-Santa & Rudolph.jpg
 

What is a Grip n Grip?

I recently took a look at the Grip n Grip by Bear Thread Designs, Inc. You may be wondered what the heck is a Grip n Grip? I was wondering too, so let's take a closer look at it.

As the name implies, the Grip n Grip's primary goal is to grip to something. Lucky for us quilters, the Grip n Grip works really well in gripping what we usually work with: fabric!

The Grip n Grip is a rubber-like substance on both sides and both sides grip in the same way. You just need to smooth it down on a flat surface - an ironing board or counter top - and can then put fabric on it and it grips the fabric and stops it from moving around. This is so helpful when you want to mark or draw on fabric, such as when you are making a quilt label.

I've found a few other uses for the Grip n Grip and you can see these in the video below or on my YouTube channel. 

What other uses do you think the Grip n Grip would be helpful for? Please leave me a Comment below if you have other ideas or if you have used the Grip n Grip in your quilting studio.

Creatively,

Kim's signature small.jpg
 

P.S. Did you know that Chatterbox Quilts provides FREE content to those on our mailing list? Yes, we do! Sign up here to receive FREE content directly in your email inbox every few weeks from Chatterbox Quilts. You'll be glad you did :)

P.P.S. This post includes affiliate links. If you purchase an item through these links, I will receive a small monetary amount that helps me to continue creating FREE content for you. Thanks!

Book Review - Moda All-Stars Lucky Charm Quilts

The Moda All-Stars have published another book! Well, actually That Patchwork Place has published the book, but it is another one in the Moda All-Stars' series.

Lucky Charm Quilts includes 17 patterns that use charm squares or 5" squares or nickel squares. Whatever you call them, you'll find lots of projects for them in this book. As with their other books, royalties from Lucky Charm Quilts are going to charity, so that's an added bonus!

There are a variety of techniques used in these projects from pieced to appliqué, so there is something for every quilter. There is also a variety of project sizes in the book from table runners to pillows to lap quilts. Some of the patterns use more than one charm pack, so be sure to pick up several of the same line when you're next at your local quilt shop. :)

To see more of the designs in Lucky Charm Quilts, please watch the video below or on my YouTube channel.

Get your own copy of Moda All-Stars Lucky Charm Quilts so you can make wonderful projects with your charm squares.

Leave a comment below to let me know your favourite pre-cut to use in your quilt designs.

Creatively,


P.S. Please join me in the private Chatterbox Quilts Facebook group for information on quilting topics and vintage sewing machine discussions. I hope to see you there :)

Disclaimer: I am an Amazon affiliate and will receive a small amount of compensation if you purchase by clicking through a link in this blog post. Thank you for allowing me to continue to create free content for you.