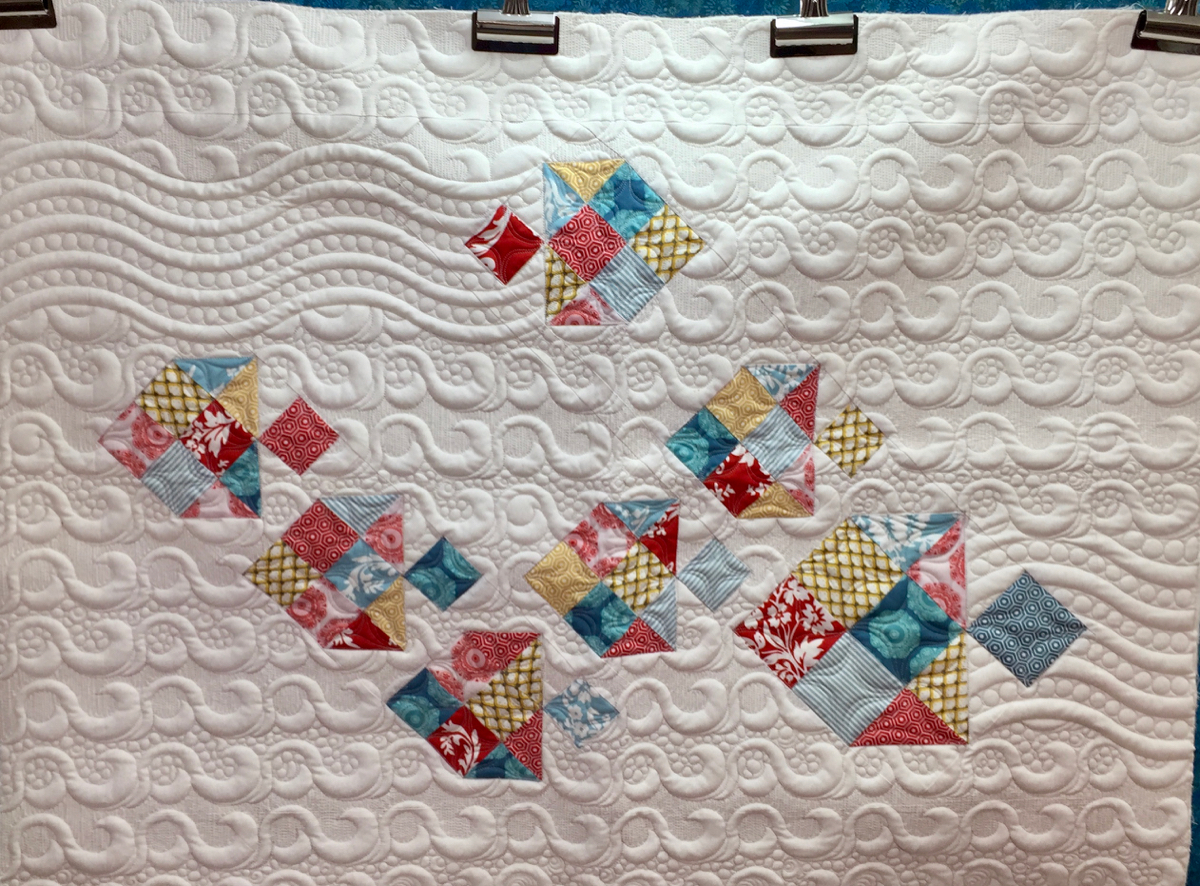
Quilting

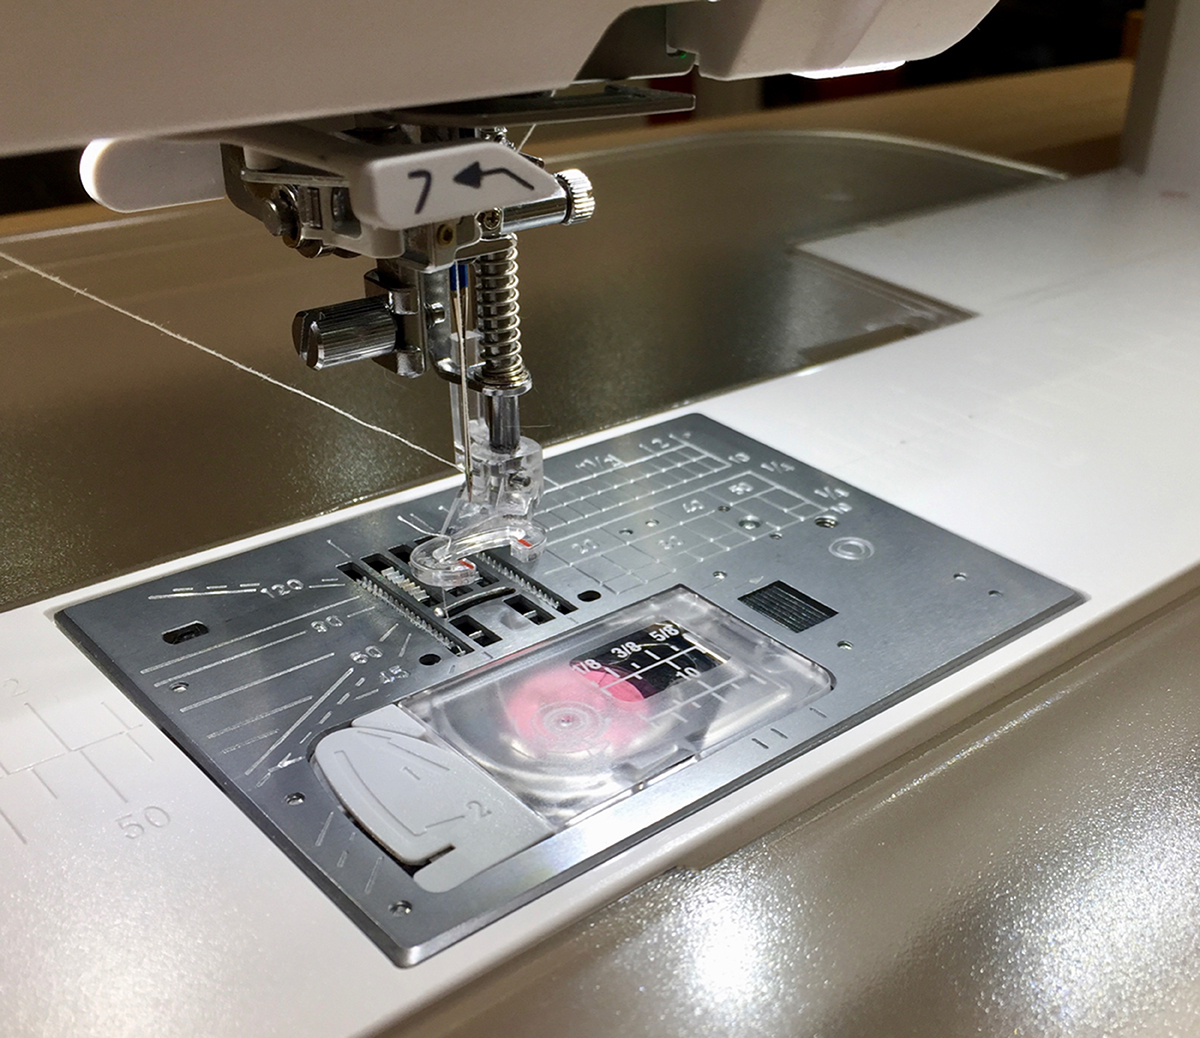
Free Motion Quilting Feet for the Janome MC9450

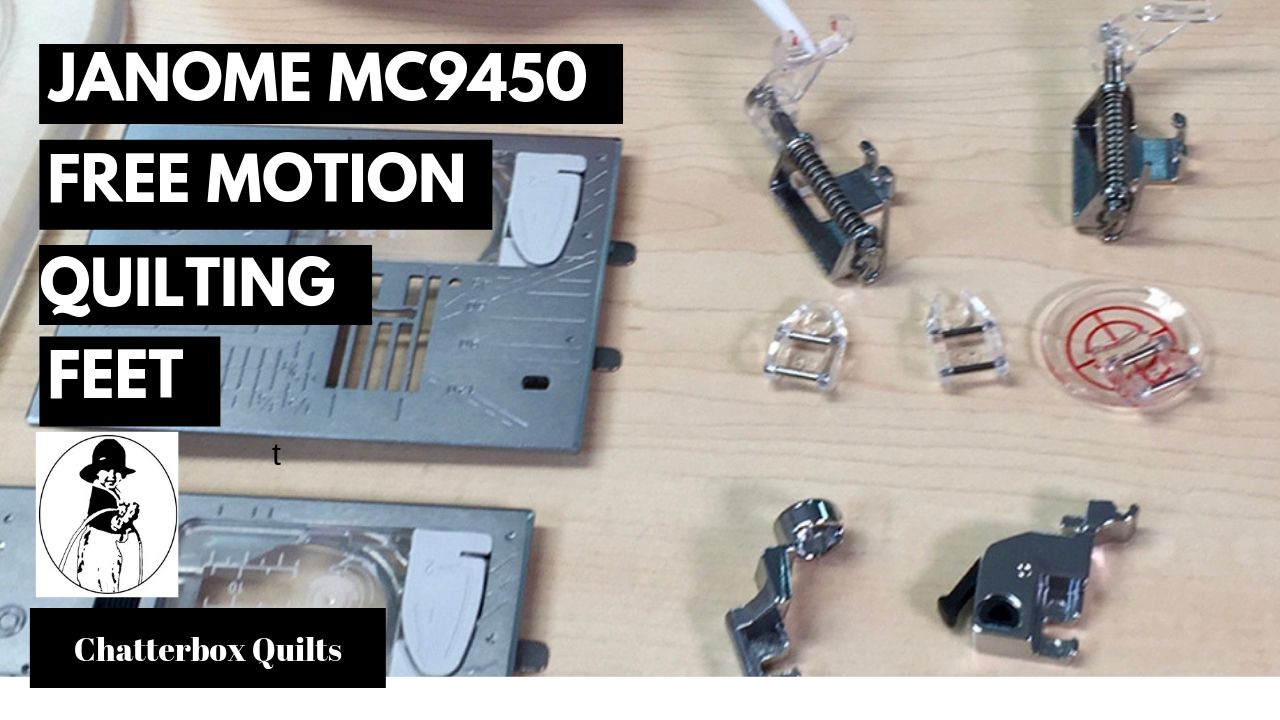
Quilters are always asking me what feet and settings they should be using for free motion quilting on the Janome MC9450. It’s a good question because there are a variety of feet that are included with the Janome MC9450. Let’s take a look at the free motion quilting feet that come with the Janome MC9450 and learn what settings to use for each of them.

 
#1 FMQ Feet and Needle Plate.jpg
 

Let’s start with the most common free motion quilting foot, the PD-H foot. It’s often called the darning foot, but it works so well for free motion quilting. There are actually two of them included with the Janome MC9450 – a closed-toe foot and an open-toe foot. They both operate the same way and I like to use the open toe foot as it has great visibility. The only thing you need to be careful of when using an open-toe foot, is that you don’t get caught on only loose threads or on appliqué pieces.

 
PD-H Open-Toe Darning Foot

PD-H Open-Toe Darning Foot


There are three other free motion quilting feet that you can use with the Janome MC9450: the QO (free motion quilting open-toe foot), the QC (free motion quilting closed-toe foot), and the QV (free motion quilting zigzag foot). These are quite big names for such small feet! The QO and QC feet are, like the PD-H feet, the same except that one is open while the other is closed. Can you guess which is which?

 
QO Free Motion Quilting Open-Toe Foot

QO Free Motion Quilting Open-Toe Foot


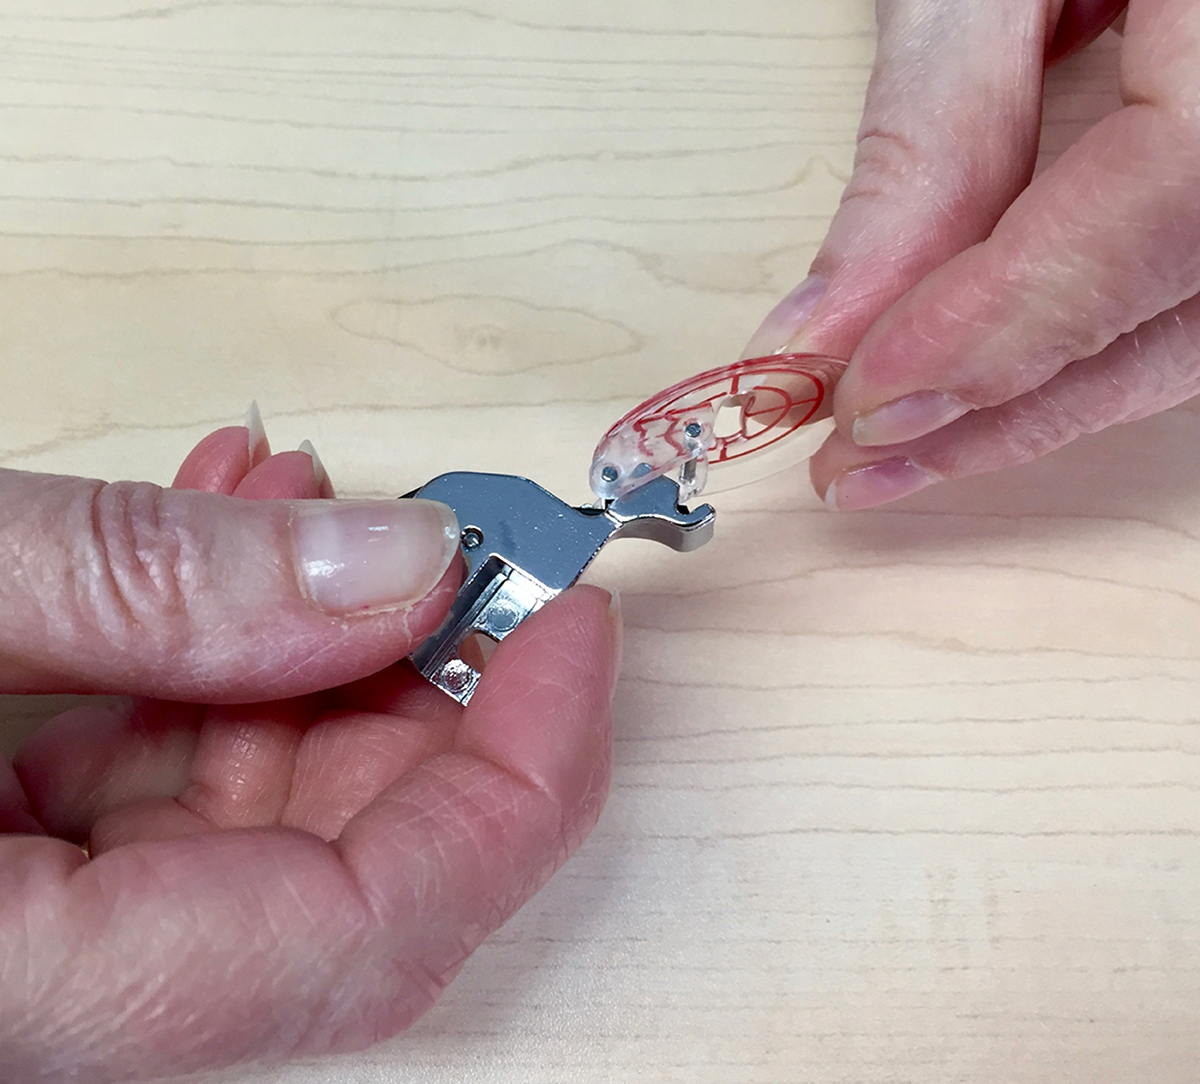
The QV foot works really well for quilting around appliqué pieces as its saucer shape allows you to get really close to those pieces without worrying about getting snagged on them. All of these feet fit on the regular foot holder.

 
QV Free Motion Quilting Zigzag Foot

QV Free Motion Quilting Zigzag Foot


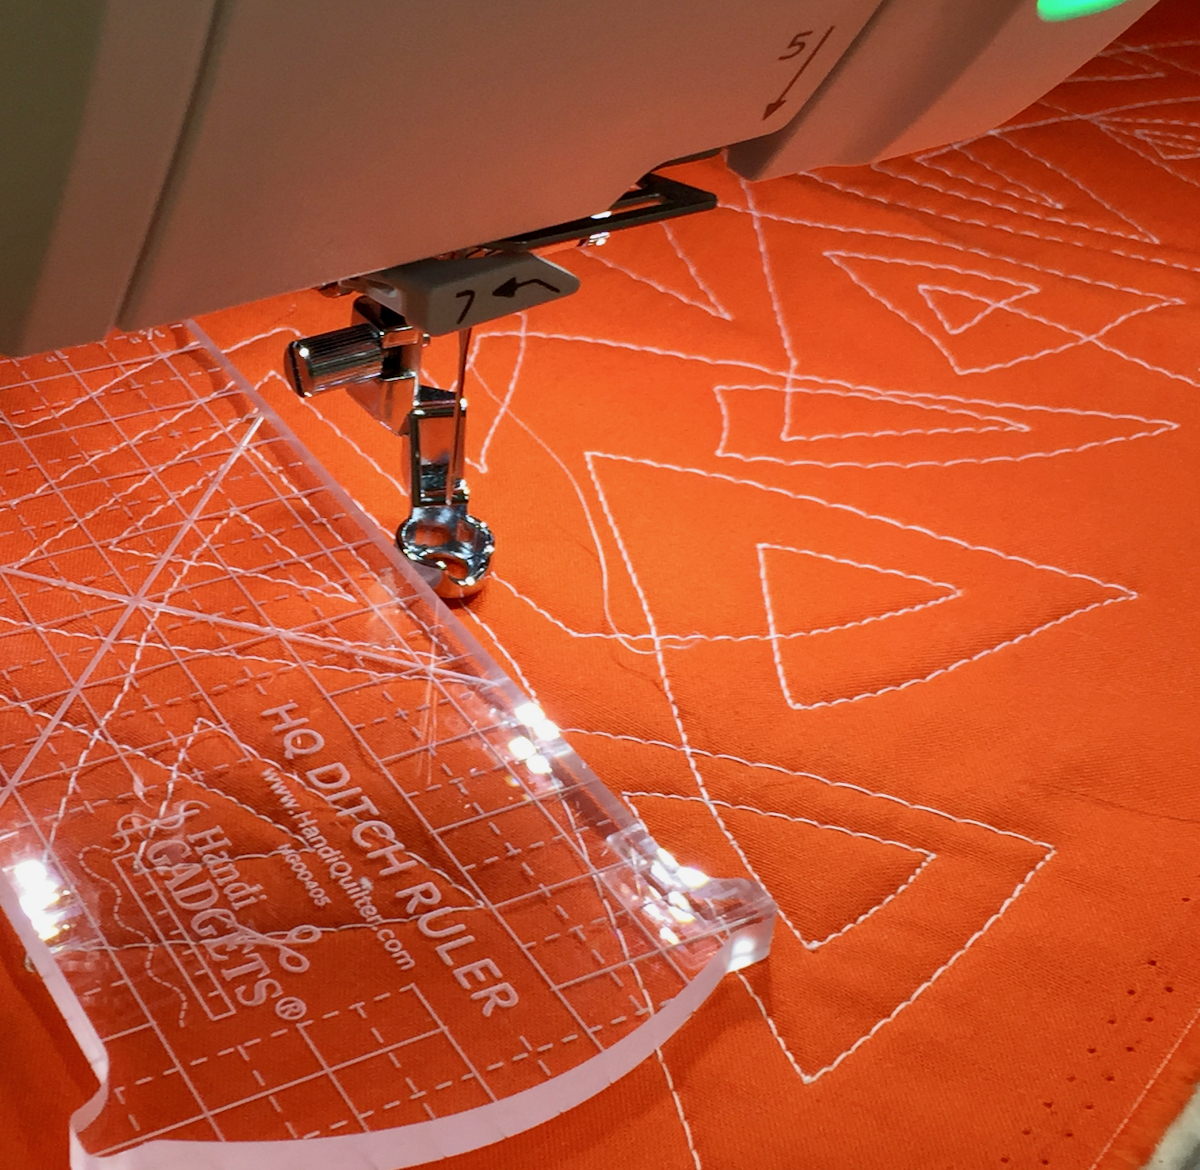
The last “free motion quilting” foot that comes with the Janome MC9450 is the QR, ruler foot. I never know whether to consider ruler quilting as free motion quilting, but I consider it the same as the machine is set up the same way as I would have it set up for free motion quilting. The big difference is that you will be using the QR foot with a ruler (make sure you are using one specifically for ruler quilting on your sewing machine; the quilting rulers you use for cutting will not work for this application). The QR foot is already attached to a foot holder and it is easy to distinguish with its high base.

 
QR Ruler Foot

QR Ruler Foot


There are certain settings to use with each of these feet and if you click on the image below, you can watch the video that explains all of the various choices.


 Give the various free motion quilting feet on the Janome MC9450 a try to see which one you like to use for various types of free motion quilting. There’s a free motion quilting foot for every application.

What free motion quilting foot do you like to use on your Janome MC9450? Leave a Comment below to let me know your preference.

 NOTE: If you have upgraded your Janome MC9400, you will also have these feet and the settings will be the same.

Creatively,

Kim's signature small aqua.jpg
 

P.S. Are you serious about improving your quilting? Do you want to connect with other committed quilters in a supportive, safe environment?  If you answered “yes” to these questions, you need to join The Quilter’s Way. The Quilter’s Way is the only quilting membership site that includes both training and an active, supportive online community. Don’t wait another day! Join now.

P.P.S. Did you know that you can sign up to receive emails full of FREE quilting goodness? Click here to receive FREE content directly in your email inbox every few weeks from Chatterbox Quilts. I know you'll be glad you did!

P.S. I am an Amazon affiliate and, if you purchase items by clicking through the links in this post, I will receive a small amount of commission. This doesn’t cost you any more $$$, but helps me to continue creating free content for you. Thanks!

4 Tips on How to Quilt Your Quilt

4 Tips on How to Quilt Your Quilt

The biggest problem I hear from quilters when it comes to the quilting part of their project is that they don’t know what motif to put on their quilt. They’re afraid that they’ll “ruin” their quilt, either through lack of skill or poor quilt motif choice. I’m not going to say that you can’t ruin a quilt through poor choices in these areas, but there are 4 considerations that I think will help you to avoid “ruining” your quilt.

Learning From Gammill Quilt Artist, Sharon Blackmore

I recently had the opportunity to interview Gammill Quilt Artist and long arm quilter extraordinaire, Sharon Blackmore of Love Shack Quilts, Sharon is a local long arm quilter, specializing in custom quilting, and is the host of the Prairie Quilt Militia and How do I Quilt This? Facebook group.

 
Ki and Sharon Blackmore sitting in front of Tula Pink City Sampler quilt
 

Sharon has been free motion quilting for about 20 years and long arm quilting (always on a Gammill) for about 12 of those years. Her secret to her amazing quilting is that she quilts every day. Yes, practice definitely makes progress towards perfection!

 
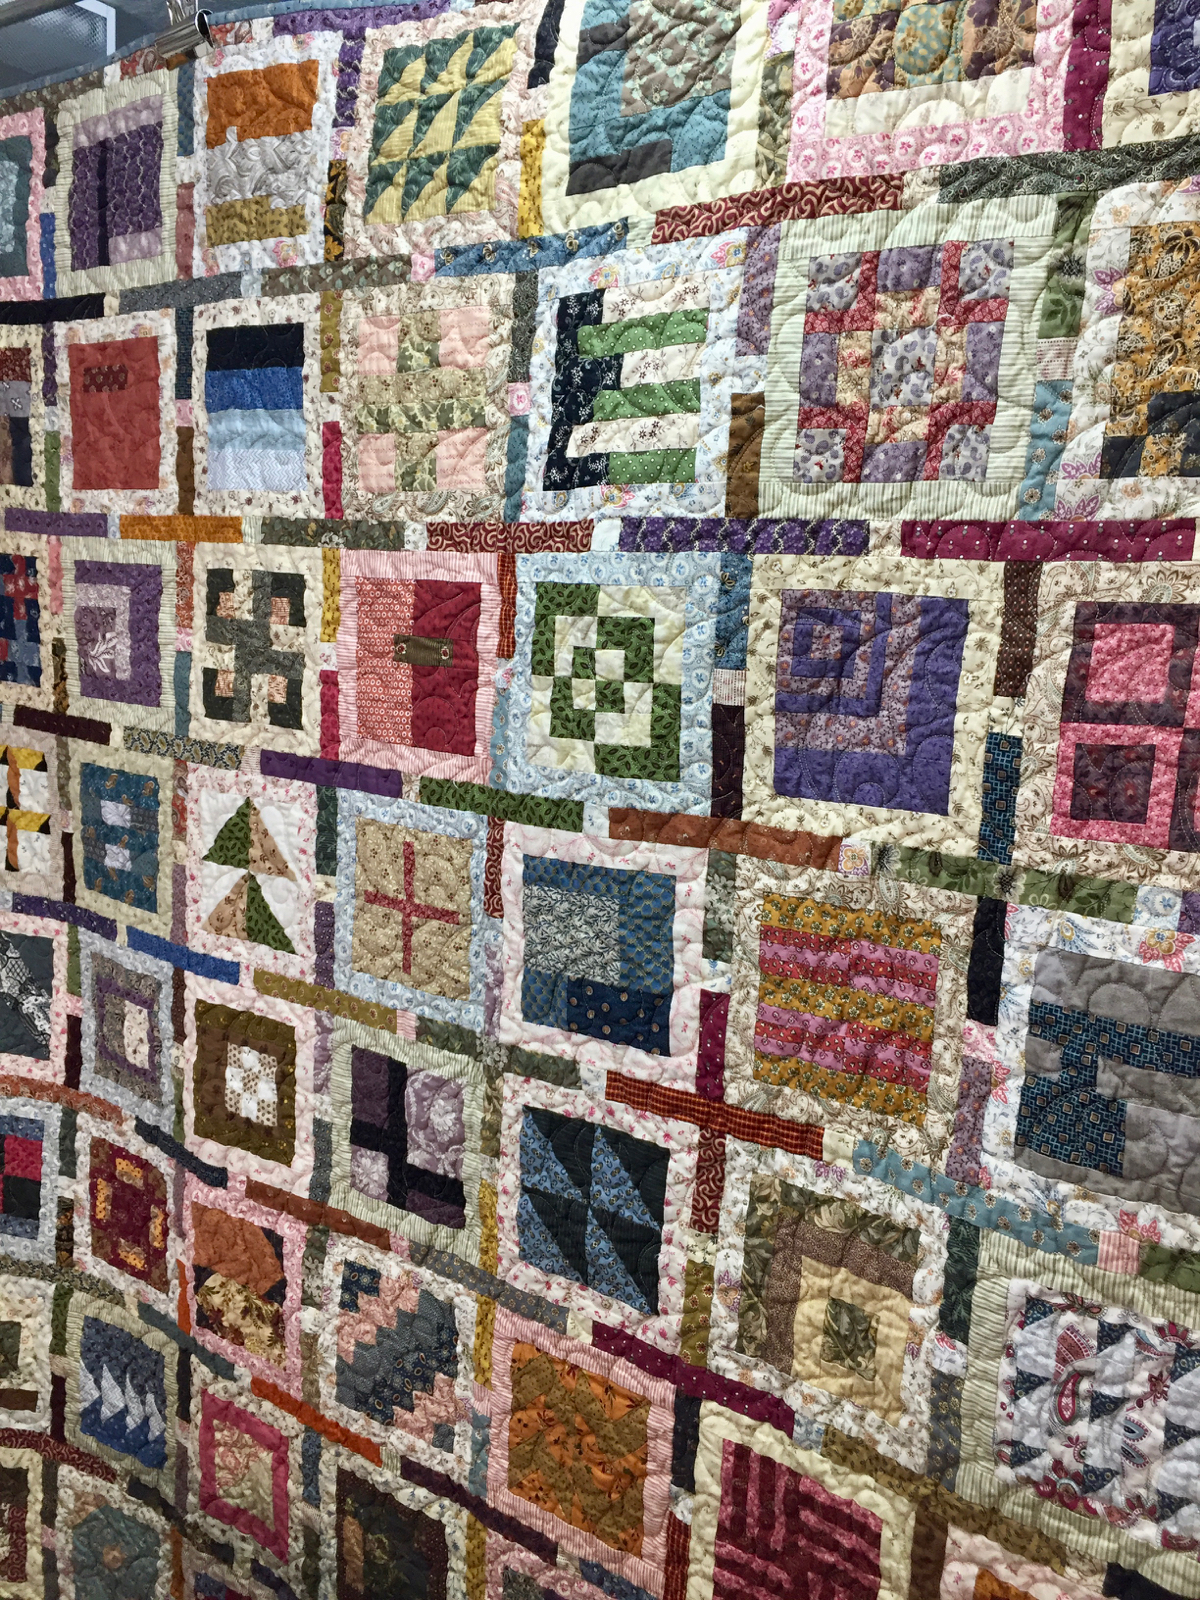
Tula Pink City Sampler quilt pieced by Sharon Blackmore and quilted by Jason Blackmore using civil war reproduction prints
 

Sharon loves to challenge herself and this is also how she has improved her skills over the years. She believes that it’s important to challenge yourself and try projects outside your comfort zone to improve your quilting skills. Recently she has been quilting on leather and cork and the results are incredible!

As a Gammill Quilt Artist, Sharon has been teaching in Canada and the US on the Quilting with Confidence tour. Sharon loves teaching and appreciates the opportunity to learn from the other Gammill insructors on the tour.

 
The Rebel, designed and quilted by Sharon Blackmore

The Rebel, designed and quilted by Sharon Blackmore


Click on the image below to learn more about Sharon and her quilting journey.

After we filmed this interview, Sharon and I recorded several more videos where Sharon shared quilting tips and advice on free motion quilting and went in-depth on how she quilted several of her quilts. These videos are available exclusively for members of The Quilter’s Way. Not yet a member, check it out here.

Click here to learn more about the Prairie Quilt Militia and the How do I Quilt This? groups.

Creatively,

Kim's signature small aqua.jpg
 

P.S. Are you serious about improving your quilting? Do you want to connect with other committed quilters in a supportive, safe environment?  If you answered “yes” to these questions, you need to join The Quilter’s Way. The Quilter’s Way is the only quilting membership site that includes both training and an active, supportive online community. Don’t wait another day! Join now.

P.P.S. Did you know that you can sign up to receive emails full of FREE quilting goodness? Click here to receive FREE content directly in your email inbox every few weeks from Chatterbox Quilts. I know you'll be glad you did!

P.S. I am an Amazon affiliate and, if you purchase items by clicking through the links in this post, I will receive a small amount of commission. This doesn’t cost you any more $$$, but helps me to continue creating free content for you. Thanks!
Pillowcase Method to Finishing a Quilt

Do you use the pillowcase method to finish your quilt projects? Do you know about the pillowcase method? If you don’t, I’m going to tell you all about it and you are going to love this easy way to finish smaller projects.

The pillowcase method is a way to finish your quilts without binding them. Yes, you know I hate binding, so this is one of my go-to techniques for avoiding it! You’ll need:

  1. Your quilt top

  2. Batting cut to the size of your quilt top

  3. Backing cut to the size of your quilt top

  4. No binding strips!

You are going to layer the 3 parts of your quilt as follows, from the bottom up: 

  • Batting

  • Quilt top, right side up

  • Backing, wrong side up

Pin these 3 layers together around the raw edges, leaving a gap so you can turn it right side out later on. The size of the gap depends on the size of your project: a 3” to 4” is okay for most small to medium size projects. Leave a larger unsewn area is you are working on a bigger project.

After pinning the 3 layers together, sew around the outside of the sandwich with a ¼” seam, remembering to leave that unsewn gap for turning. I like to use a walking foot to do this. Clip off the corners and turn the project right side out, pushing out the corners (I like to use That Purple Thang to do this). Hand sew the opening closed and your project is now ready for quilting.

For detailed instructions, click on the image below.


Have you ever used the pillowcase method before? If so, let me know your results in the Comments below.

Creatively,

Kim's signature small aqua.jpg
 

Download the free Get Out of the Ditch! guide to learn how to start free motion quilting by clicking here.

P.S. Are you serious about improving your quilting? Do you want to connect with other committed quilters in a supportive, safe environment?  If you answered “yes” to these questions, you need to join The Quilter’s Way. The Quilter’s Way is the only quilting membership site that includes both training and an active, supportive online community. Don’t wait another day! Join now.

P.P.S. Did you know that you can sign up to receive emails full of FREE quilting goodness? Click here to receive FREE content directly in your email inbox every few weeks from Chatterbox Quilts. I know you'll be glad you did!

P.S. I am an Amazon affiliate and, if you purchase items by clicking through the links in this post, I will receive a small amount of commission. This doesn’t cost you any more $$$, but helps me to continue creating free content for you. Thanks!